
A Critical Look at Mega Man 5: Proto Man Stage 2

TMMN Staff
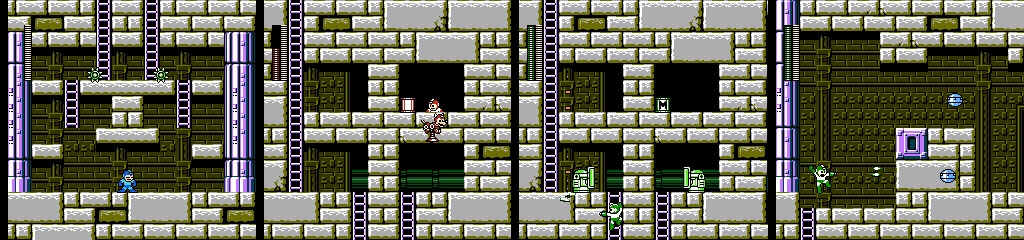
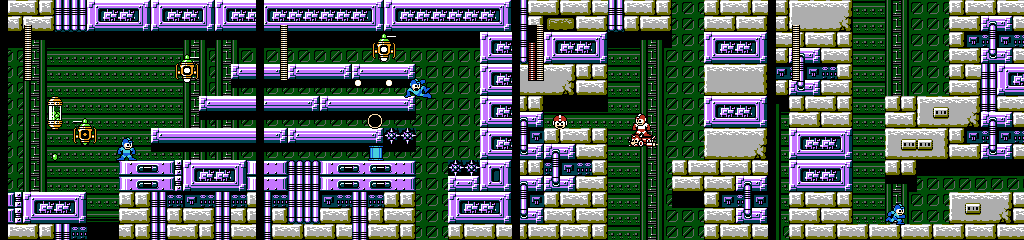
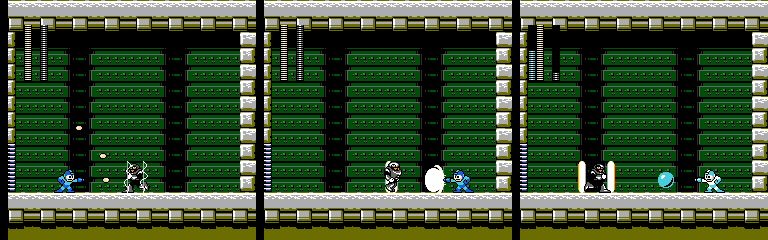
While the two Girees at the start aren’t really a threat, it’s worth pointing out that they start near the upper ladders, and the warping in animation takes just enough time for them to be in our way as we start. They’ll also hit us if we fall back down, which a player could easily do while going after the M-Tank.
Tattepakkan is a bit awkward to kill, but we have plenty of options for dealing with these situations now. Once again we come to a high wall, as though this could distract us from the fact that Rush Coil never has enough to do in these games.
This enemy combination is fun, if a little repetitive. Pukapelly often gets in our way, and it usually just needs to move twice to reach Mega Man. Attempting to hit it first can give Metall a good shot at us, while backing away can easily lead to being surrounded when the previous enemies respawn. Metall’s fast movement also encourages this.
Suddenly, the platforming hits a relatively large difficulty spike. We need to jump across small conveyor belt platforms with Girees on them, while in the area below we have Bombier’s attacking us. The platforms have different directions of movement starting at the end of the spiked area. The first set of spikes also serves as punishment for those falling immediately to skip the first platforms.
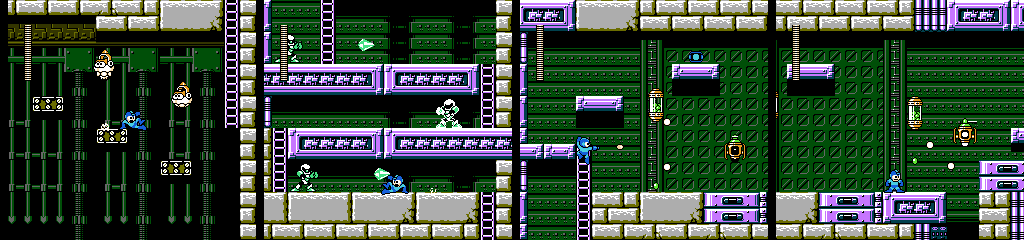
The positioning of some of the platforms also allows us to slide between them, which is very useful for avoiding bombs. After a pointless Crystal Joe screen, we meet Graviton again. The only interesting thing about this enemy was that it changed direction in Gravity Man’s stage, and since Tondeall isn’t giving us any reason to run forward, I’d call this combo a miss.
Tondeall works very well with this little trap though. The sliding animation won’t protect Mega Man from the spikes, so we need to be very careful when grabbing the E-Tank. Meanwhile, the last Tondeall gets opportunities to hit us if we turn around too many times while attempting to do so. Also, if we take the highest narrow path, we might see the items and turn around, which will almost certainly result in getting shot by the last Tondeall and running into the previous one on the way back out.
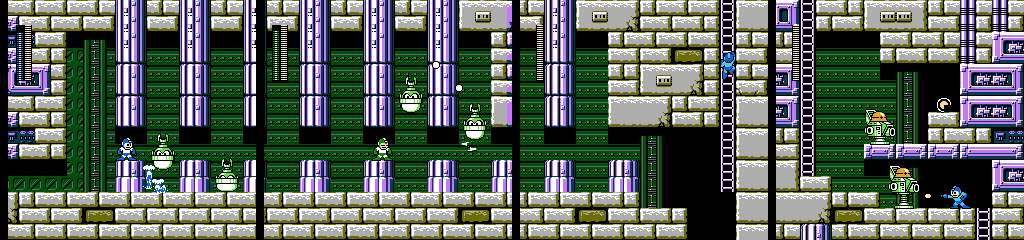
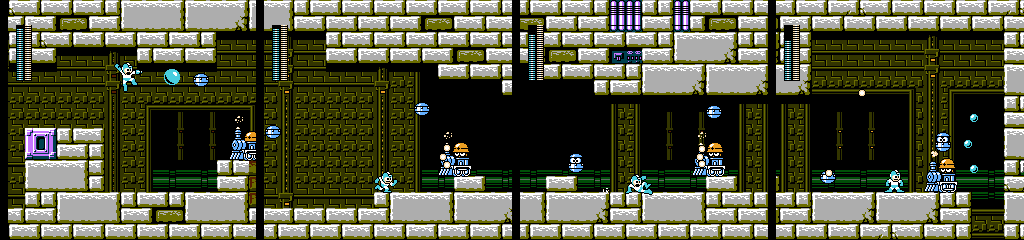
Not much going on here. These enemies are easy enough to kill and even the tight corridors can’t make Bounder dangerous.
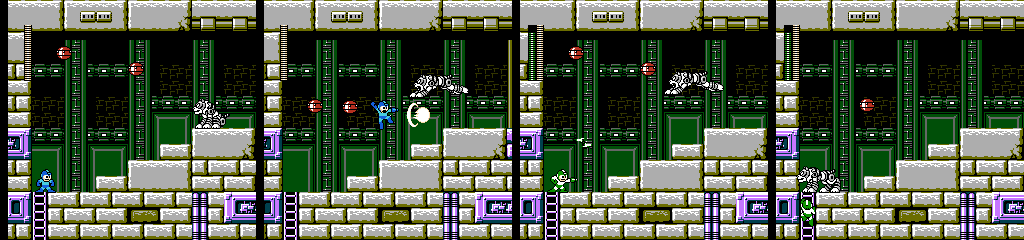
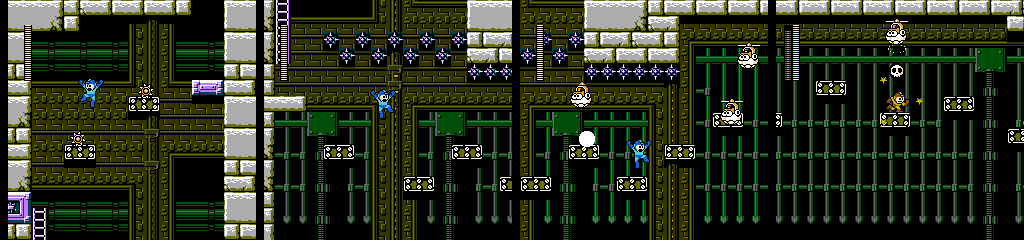
The stage picks up again here, and by the fact that all the images here are of this room you’ve probably guessed that I’m a fan of it. Sumatran is initially out of reach, while the Pukapellys get in our way if we try to move forward. If we hang back they’ll quickly press us against the wall, and any shot fired will trigger Sumatran.
We have a wide variety of options here including taking a well-timed charge shot from the first step, luring Sumatran down before firing, or hiding on the ladder and waiting for him to move or using special weapons that hit upward. It makes for a great scare when players first see it while offering an easy way to reset it and try again.
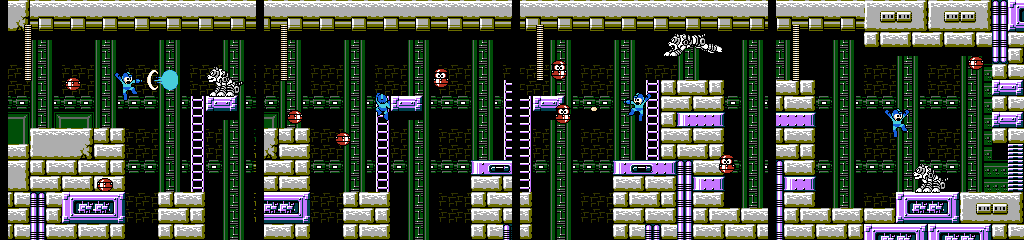
Pukapellys continue to bother us throughout the area, while more Sumatrans wait to surprise us if we attack at the wrong time or move too quickly. The first Sumatran will fall to the lower area after a pounce, making it easy to avoid but dangerous if we try to go down too soon. The next one can be easily taken out with a charge shot from the upper platform, and though it’s positioned perfectly to hit us as we climb the ladder, it will also fall harmlessly into a hole if we trigger it early. The last Sumatran is another that we’ll have to shoot as we fall, but there’s a good chance that the player is being chased by Pukapellys at this point and might run into the hole before they’re prepared.
This stupid thing has a rotating shield and runs back and forth. It speeds up as we damage it. They could have just put another Sumatran on the other side of the room and it’d have a better chance of hurting us than this. Kill it with Crystal, Napalm, or Beat and move on.
Most of this stage was fantastic, and the rest was at least inoffensive. Metall K-1000 and Pukapelly make for a frantic combo, the conveyor belt section was the sort of difficult platforming I’ve missed since the third game, and the little sliding section was interesting. Sumatran was used extremely well, making the player think their way around them while Pukapelly added pressure to the situation. Just pretend those guys were the real boss.
When I make these posts, I often try to get around enemies quickly and without disturbing them so they’ll be in their proper positions in the area I want a screenshot of. Sometimes I discover fun ways to bypass them in the process.
Prev/Next in Category(s)
Prev/Next by Date

The Script for Mega Man Legends Timelines #1
Behold some of the first steps in how this book came together.

GOG Dreamlist Brings Back Breath of Fire IV, Could Mega Man Legends Happen Next?
Plasma Power? No, People Power!


Comments