
A Critical Look at Mega Man 4 Stages: Dr. Wily Stage 1

TMMN Staff
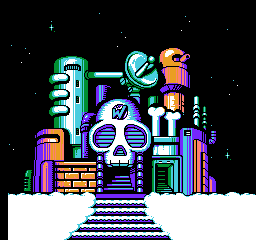
Wily Stage 1 and Music

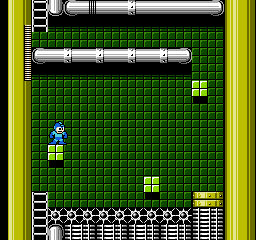
Right away, we can see the gimmick for this stage. It is filled with Mets, and only Mets. Despite this restriction, the first few screens offer a good mix of interactions with them. The first two we meet are jumpers. The first one on the next screen walks forward, giving Mega Man little room to dodge if the player doesn’t kill it immediately.
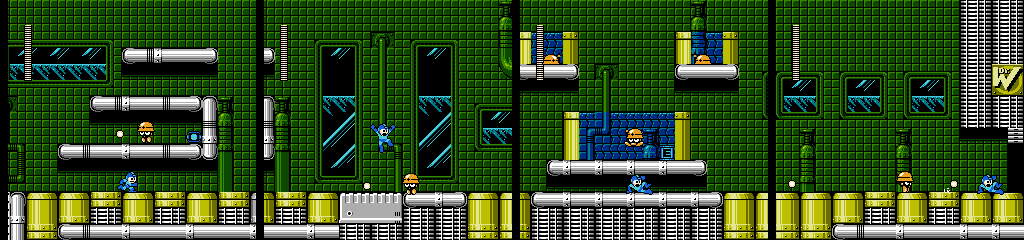
The next is a spinner, and the increased health and low ceiling makes it easy for this one to catch the player off guard. The one above that is a jumper, with another spinner guarding the ladder. The platform on the next screen allows us to slide under it, but we’ll need to get the attention of the Met on the bottom and kill it first. Going up seems easier, but the Mets on top are jumpers, and hitting the one on the right is difficult since we’re above it.
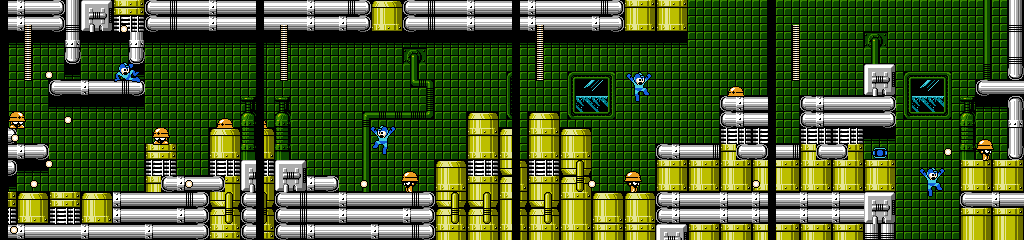
The platform we’re sliding on contains a large health refill, but getting out is trickier than it looks. The following Mets walk and jump respectively, and we can either land where the first was standing and deal with the second’s shots, or fall between them and give it a chance to jump on us.
The last two spinners also have good placement, with the former being avoidable but dangerous if we land next to it, and the latter punishing us for blindly grabbing the energy refill, though it’s not quite close enough to do so unless we move much farther to the right than necessary. The defending Met in the third image is a jumper.
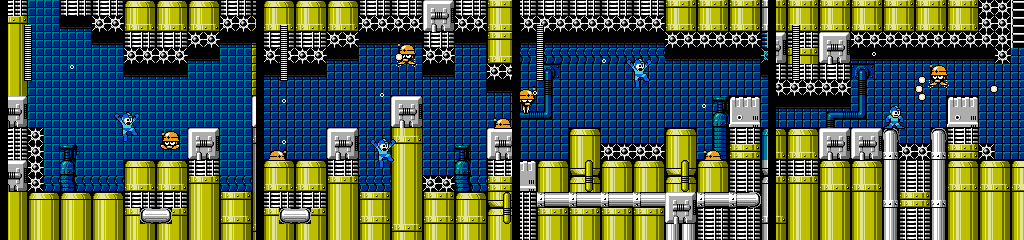
This is a good room, but there’s little to say about it. It’s a short underwater section filled with spikes and swimming Mets, but there’s plenty of variety in the design and the player’s attempts to avoid incoming shots could cause them to hit spikes that wouldn’t otherwise be a problem.
This take on the vanishing blocks is also a good one. The first is a simple introduction/refresher on the concept, while the next gives us a choice between a vertical jump over spikes or jumping from the first to the third. Missing the last jump won’t kill us, and there’s even an extra block to lead us back.
Rush Jet can easily get us through the first room, and it works for the second if we call it at the right height. It can also get us back from the right side safely, or we can just use Wire or Balloon to escape. Again, it’s nice to see moments where taking the detour to get those is worthwhile.
The last room is the least interesting, with only a couple spinners directly in our path. The little tanks with swimmers in them are a fun idea, but there needs to be more happening in here. It’s a shame we didn’t see a return of the flying Mets from the third game, as an open area like this would have been a good place for them.
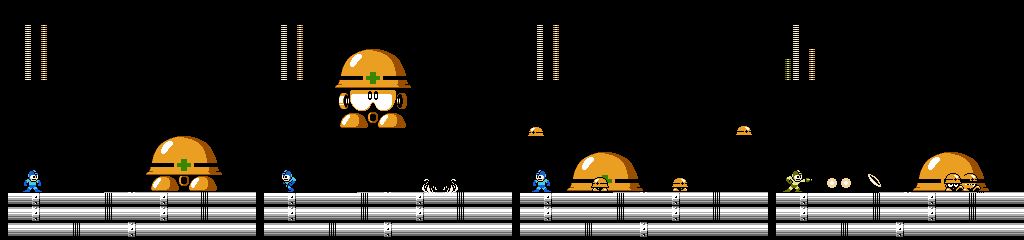
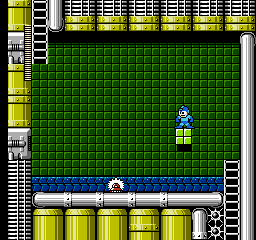
The boss of this area is, of course, a giant Met. Metall Daddy jumps to Mega Man’s current position, shaking the screen in the process and stunning Mega Man if he’s on the ground, similar to the Guts Man fight. This also causes four Mets to fall from the ceiling, which then walk off the nearest side of the screen without shooting. Metall Daddy hides for a moment before repeating this.
Simple as the pattern is, sliding under Metall Daddy without taking damage can be difficult, as he seems to prefer certain landing spots instead of aiming for you directly, which makes it hard to judge whether there’s enough time to slide or not. Since he deals seven damage on contact, this leaves little room for error. However, encouraging him to take shorter hops (thus cutting down the number of times you’ll need to cross under him) is also difficult, as he’s even harder to avoid once he has you cornered.
He’s weak to the Ring Boomerang and Dust Crusher, and at two damage per hit, it’s a tossup between these and charge shots. Ring beats out Dust here since if two Mets land in front of you, it can hit both.
I’ve seen this one brought up a few times in discussions of Mega Man 4‘s flaws (an entire stage of Mets! How easy is that?) but I don’t think this is one of them. Mets may not deal much damage, but given the roster this time around they’re far from the easiest enemies to fill a stage with.
The first third puts them in various positions where they have an advantage, the occasional spinner can surprise players expecting each to die immediately, and the underwater room of spikes and vanishing blocks help fill it out. The last section certainly needed something more in it, but frankly, a good portion of the endgame stages throughout the series have been at least this easy, and the boss can hold its own against the harder Cossack bosses in difficulty, though not for the best of reasons.
Weapons aren’t that helpful here, though. Rain Flush can clear out some of the more annoying Mets, but it won’t kill spinners in one shot. Nothing does except the Pharoah Shot, actually, so we’re better off with charge shots there. The Flash Stopper holds them in place but they still get in the way, and Skull Barrier can’t block their shots.
The color scheme here is nice, but I have no idea what’s supposed to be outside the windows at the end.
Prev/Next in Category(s)
Prev/Next by Date

The Script for Mega Man Legends Timelines #1
Behold some of the first steps in how this book came together.

Holiday ’25 Update
Mega Man plans. Dr. Wily laughs.


Comments