
A Critical Look at Mega Man 4 Stages: Dr. Cossack Stage 3

TMMN Staff
Cossack Stage 3 and Music
This stage… is an autoscroller. I’m going to be honest here; no matter what I say about the design, I’m always going to hate this stage because I can’t stand this mechanic in platformers. It does raise tension for newcomers by adding a time limit, but for experienced players or anyone who isn’t having trouble with the stage, it just prevents them from getting through faster by playing well. It also means this update is going to be a short one, as the stage isn’t very long when we’re not taking the screen’s fixed speed into account.
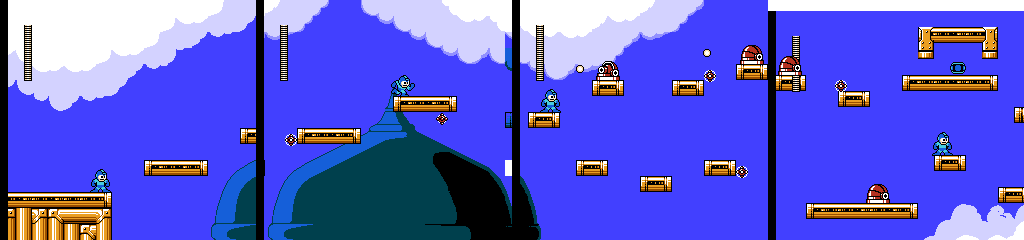
That said, the layout here is quite good. There are two paths, with more difficult enemies at first and a couple rewards on the upper one. The upper path also allows the player to skip the last couple enemies, and both paths converge at a group of smaller platforms. Mega Man can get back to the upper path, but this can be awkward with only Rush, so finding the Balloon item is useful here.
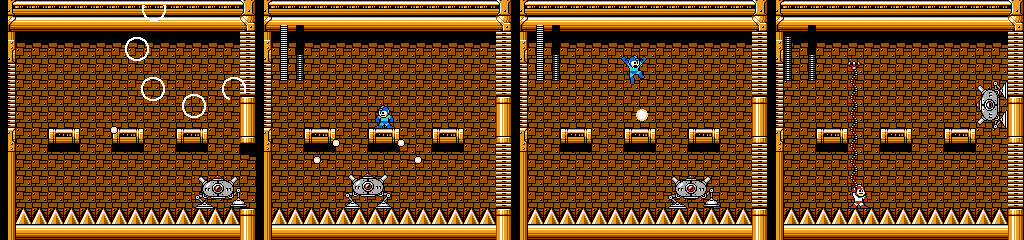
The enemies in this section are Pakatto and Biree, the latter of which moves around the platforms and can’t be destroyed. Flash Stopper stops them, but it doesn’t prevent the scrolling and players can’t pause and change weapons while it’s active, so using it here may put players in an even worse situation. Pakatto is dangerous here given how easily a player can get held up trying to shoot it, but the first one on the bottom path can be jumped over (technically the first two can as well, but this takes pixel-perfect precision) and the second can be avoided with Rush if necessary. Rain Flush also wipes them out, of course.
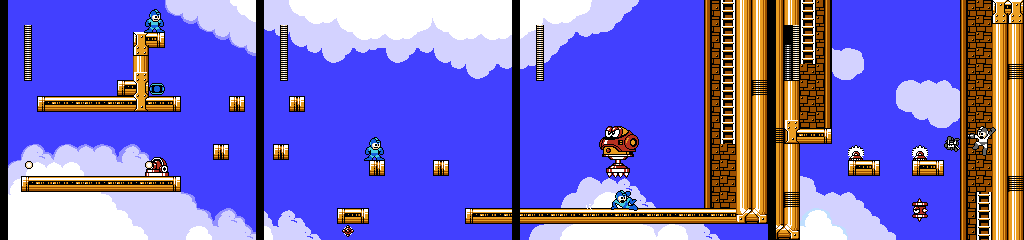
One feature of the autoscroll working in the player’s favor is that the less room Mega Man has between a Pakatto and the left edge of the screen, the more shots he can pump into them to get a hit in. Jumbig shows up at the end, and the next screen includes two Garyobys that would be very difficult to pass if we didn’t have so many options for destroying or bypassing them. It’s nice to see the game so heavily encourage the player to use a weapon without dictating which one it should be.

The last autoscroll section consists of a few normal platforms separated by a new gimmicky one. These appear when Mega Man gets close and slowly move downward when stood upon. Once Mega Man jumps off of it, it’ll move upward quickly, allowing the player to control its height. This also means that you’ll lose the platform once you leave it.
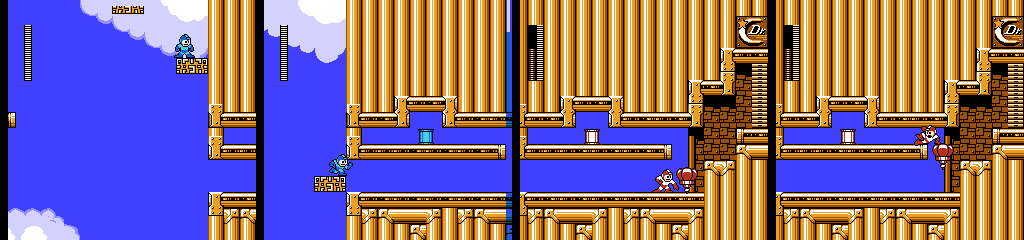
Ring Ring is the only enemy here, so there’s not much to it once the player grasps how the platforms work. The last one is a trap for players lagging behind, as we’ll need to stand on it for a while to reach the hole at the bottom. If there isn’t enough time left, the player can also bring the platform past the top of the screen, allowing them to fall through it and press against the wall to land in the hole.
I really dislike this kind of trap, as they’ll be deadly to a player who isn’t ready for it yet completely uninteresting on a replay, though this one is pretty forgiving. However, the E-Tank here is neat. The player has to have found the Balloon, and must place one at the small entrance and slide in as it presses Mega Man against the ceiling.
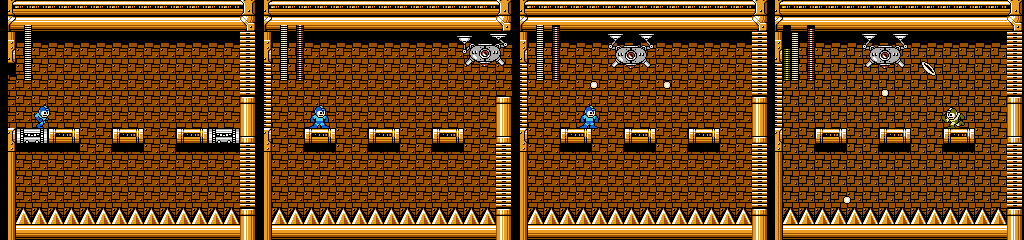
The side platforms drop as we walk in, and a Cockroach Twin enters from the upper door on the right. This one walks around on the ceiling, and can fire either two shots to the sides or one straight down. These don’t have a strong weakness, but the Ring Boomerang and Drill Bomb deal two damage, and Pharaoh Shot works pretty well since you can touch it with the charged shot for extra hits. Taking the health bar halfway down is enough to kill it.
As soon as the first is destroyed, the second appears from below. It moves around the room clockwise, and can fire a spread of four shots or one larger and faster shot aimed at the player. The latter is dangerous, as it deals six damage instead of the usual four. Contact with either enemy deals eight damage, with a good chance of being knocked into the spike pit.
Wire comes in handy here, since the player is invulnerable after starting the animation, making it a faster escape than Rush or Balloon. It’s fairly easy despite the small platforms and spikes, but the pattern change halfway through keeps it interesting, and the lack of a protected weakpoint allows players to take it down fast with riskier play. All told, this is a good fight.
Not much else to say about this one. The first platforming section is decent, but the game has a lot of enemies more interesting than Pakatto that deserved a spot in the end stages, and of course autoscroll makes it a chore on replays. The latter half doesn’t do much beyond introduce the new platforms, which was a waste as we won’t see those again either. I do, however, appreciate that this stage continues to give us a sense of being a real place with the buildings in the background.
Prev/Next in Category(s)
Prev/Next by Date

The Script for Mega Man Legends Timelines #1
Behold some of the first steps in how this book came together.

GOG Dreamlist Brings Back Breath of Fire IV, Could Mega Man Legends Happen Next?
Plasma Power? No, People Power!


Comments