
A Critical Look at Mega Man 4 Stages: Pharaoh Man

TMMN Staff
Pharaoh Man’s Stage and Music
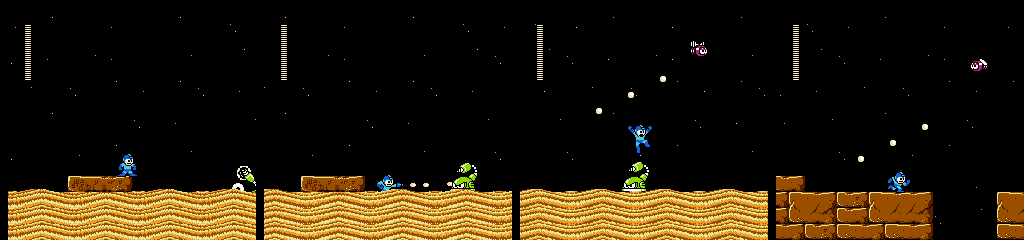
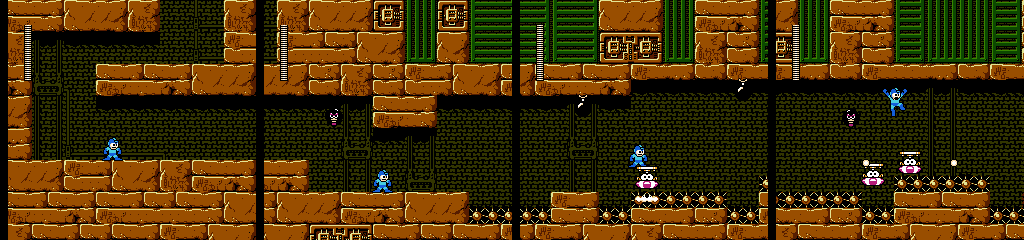
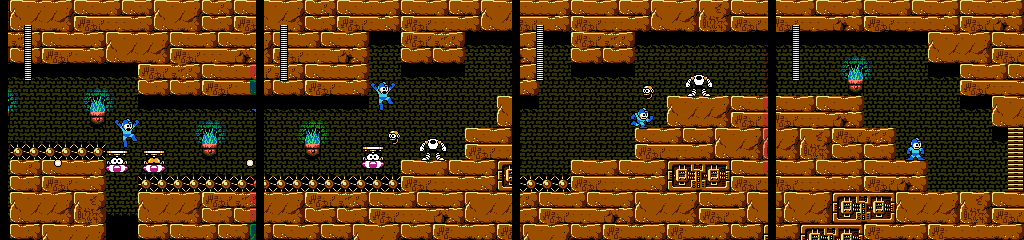
Mega Man sinks into the quicksand slowly, and will die if he reaches the bottom. This takes a long time and the sand doesn’t hinder his jumping at all (though it slows his walking speed a little) so it’s not a serious threat.
The scorpion-tailed robot is Sasoreenu, who spins out of the sand and rushes Mega Man at one of two random speeds. It can’t be hit while spinning and takes four hits, so it can be hard to destroy before it gets close, though the platforms are safe from them. It’s also small enough to jump over, and if we wait to sink into the sand we can slide under it.
Haehaey (the small bug) appears at times to fly above us and drop up to three projectiles at a time. We can’t reach it normally, but it flies away on its own after a couple passes. We’re meant to fall into the hole here, but jumping across leads to another secret area with a new item.
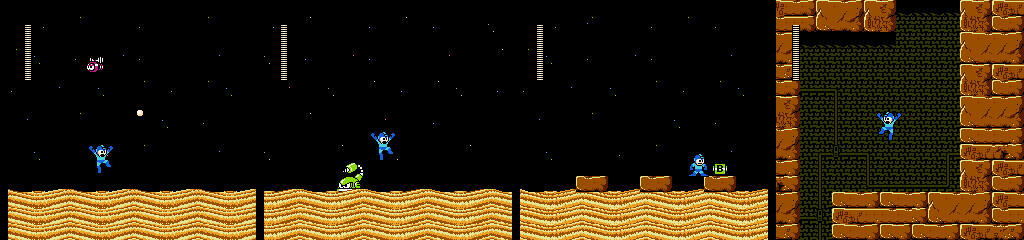
This area is the same as the first, but lacks platforms until the end. Since this one appears before the midpoint, collecting it lets us skip the next section. We’ll take the hole instead.
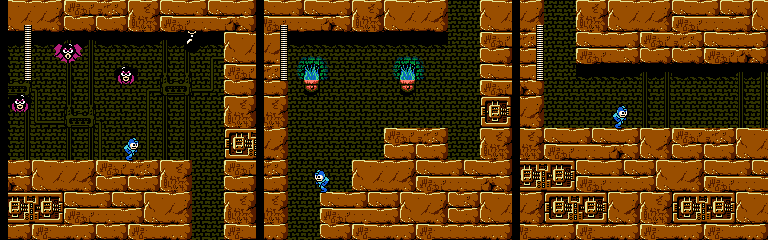
The Taketentos are handled pretty well here. The first two are simple, the next gets in our way on the stairs, and the last come close together with one low enough to cause problems if we don’t shoot it. Short and sweet.
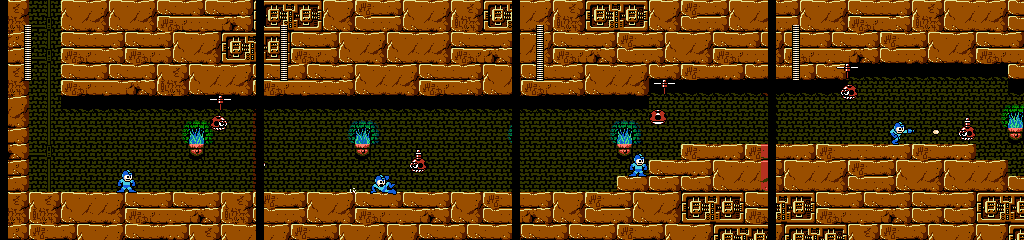
Next up is Mummira. He’ll enter through a moving wall, toss his head at us, and flip around again with a new head. It’ll take six hits to destroy him, giving him plenty of time for at least one shot, but he’ll stay still for a while after attacking. There’s just enough time to slide past him when he flips, though there’s little reason to. We can get to the upper platform and kill the second Mummira, but they can only fire downward at a slight angle, so he can’t hit us while we fight the third anyway.
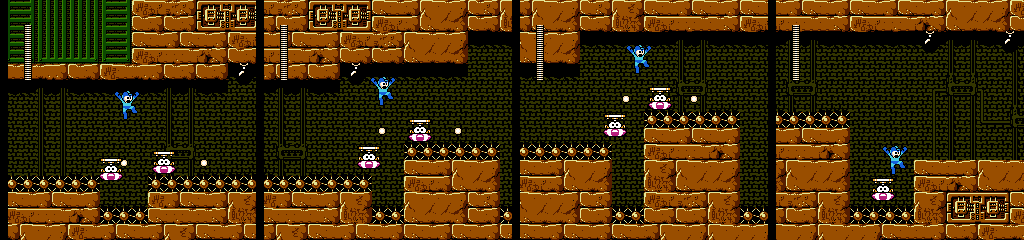
Hover is a new take on the Foot Holder from the first game. It doesn’t move until we step on it, and fires shots from the sides after being on the screen for a set amount of time. They fall when they reach the end of their platform and are destroyed upon touching a wall, but on the upside we don’t have any trouble jumping from a falling platform in this game. They’re all timed to shoot just as we’re about to jump, so the setup is quite fair this time. The Battonton in the fourth shot is the most difficult part, as it’s right in our jumping path and leaves us very little time to kill it or room to avoid it.
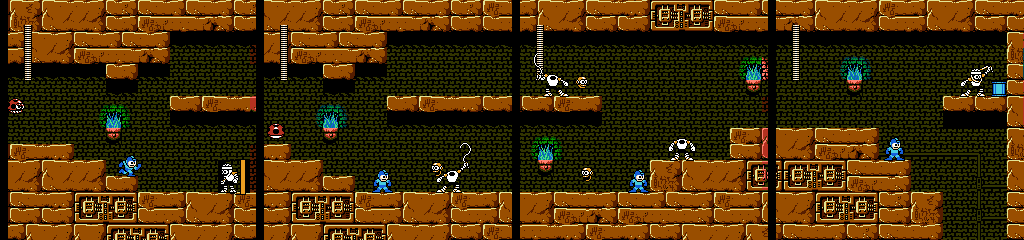
After a large group of bats chase us out of the room, we come to another drop followed by an empty room. I don’t know what the deal is with these, but there’s been a few of them throughout the game.
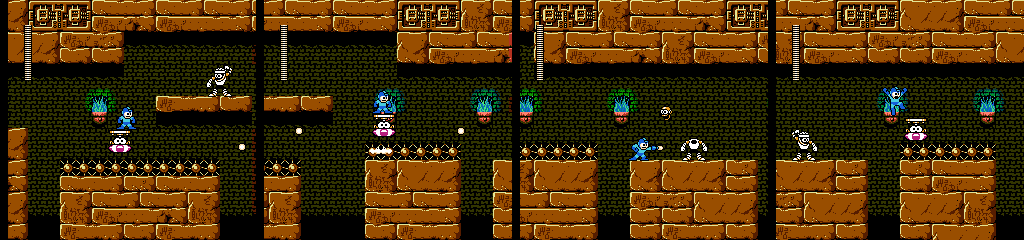
The last area is another Hover section, this time broken up by fights with Mummira. The area gives them some advantages, as we have little room to fight the first, and the next two get a shot at us while we’re still riding a Hover.
This stage has two major gimmicks, and both seem to be a success. The sand is a good combat area with both falling projectiles and large ground enemies to dodge on unsteady terrain.
The Taketentos and Mummira introduction get just enough room to do their thing without wasting much space in the stage. We’ve got one Battonton by itself in case the player hasn’t seen it yet, then we’re thrown right into the fire.
The first Hover section keeps things simple by making all the jumps similar until the end, but the Battontons in our way keep it interesting. The second section complicates things a little more and gives us some solid ground to keep things moving.
Game mechanics that make the player wait for something to resolve get annoying fast, but between the other enemies and the fact that Hover can shoot, this stage keeps something dangerous right in front of us on each ride. I’d say the stage’s greatest weakness is that it puts empty space between the two Hover sections instead of giving us another short area with standard enemies, but otherwise it’s pretty solid.
The graphics fit the usual pyramid theme with a few robot bricks thrown in to remind you that this is still Mega Man. The wall torch animation is mesmerizing though.
Prev/Next in Category(s)
Prev/Next by Date

The Script for Mega Man Legends Timelines #1
Behold some of the first steps in how this book came together.

GOG Dreamlist Brings Back Breath of Fire IV, Could Mega Man Legends Happen Next?
Plasma Power? No, People Power!


Comments